
Building Small Decks and Wood Landings: A Step-by-Step Guide


Planning Your Small Deck or Wood Landing
Embarking on the journey to build a small deck or wood landing is both an exciting and rewarding endeavor. Before diving into the construction process, it's crucial to plan thoroughly. Start by determining the purpose of your deck or landing—whether it’s for a cozy outdoor seating area, a transitional space, or an entryway enhancement.
Consider the size and shape that best fits your space and needs. Measure the area accurately and ensure that you check local building codes and regulations, as permits might be required for certain sizes and heights. This step is vital to avoid any legal issues down the line.
Gathering Materials and Tools
Once you have a clear plan in place, the next step is gathering the necessary materials and tools. Essential materials include pressure-treated wood, deck screws or nails, concrete footings, and joist hangers. Ensure all wood is properly treated to withstand weather conditions and pests. Tools you will likely need are a power drill, saw, measuring tape, level, and safety gear such as gloves and goggles.
Having all your materials and tools ready before you start will make the building process smoother and more efficient. This preparation also helps in avoiding unnecessary trips to the hardware store, saving time and energy.
Preparing the Site
A solid foundation is crucial for any structure. Begin by clearing the site of any debris, plants, or rocks. Level the ground as much as possible to ensure stability. Once the site is prepared, mark out the perimeter of your deck or landing using stakes and string.

If your project requires footings, dig holes for them according to the guidelines in your building plan. Pour concrete into the holes and place post anchors into the wet concrete. Allow this to cure fully before proceeding with any further construction.
Building the Frame
With the foundation ready, you can now start constructing the frame of your deck or landing. Begin by installing the ledger board against your house or any existing structure. It’s important that this board is securely fastened as it will support one side of your deck.
Next, set up the beams on top of your concrete footings using post bases to ensure they stay in place. Attach the joists perpendicular to the beams with joist hangers, maintaining equal spacing for stability and proper weight distribution. Use a level frequently to ensure everything is even and aligned.

Laying Deck Boards
After constructing the frame, it’s time to lay down the deck boards. Start at one end and work your way across, making sure there is a small gap between each board for drainage and expansion. Secure each board with deck screws to prevent them from loosening over time.
Cut boards as needed to fit around any obstacles or edges. Once all boards are laid down, examine the surface for any unevenness or protruding screws that might need adjustment.
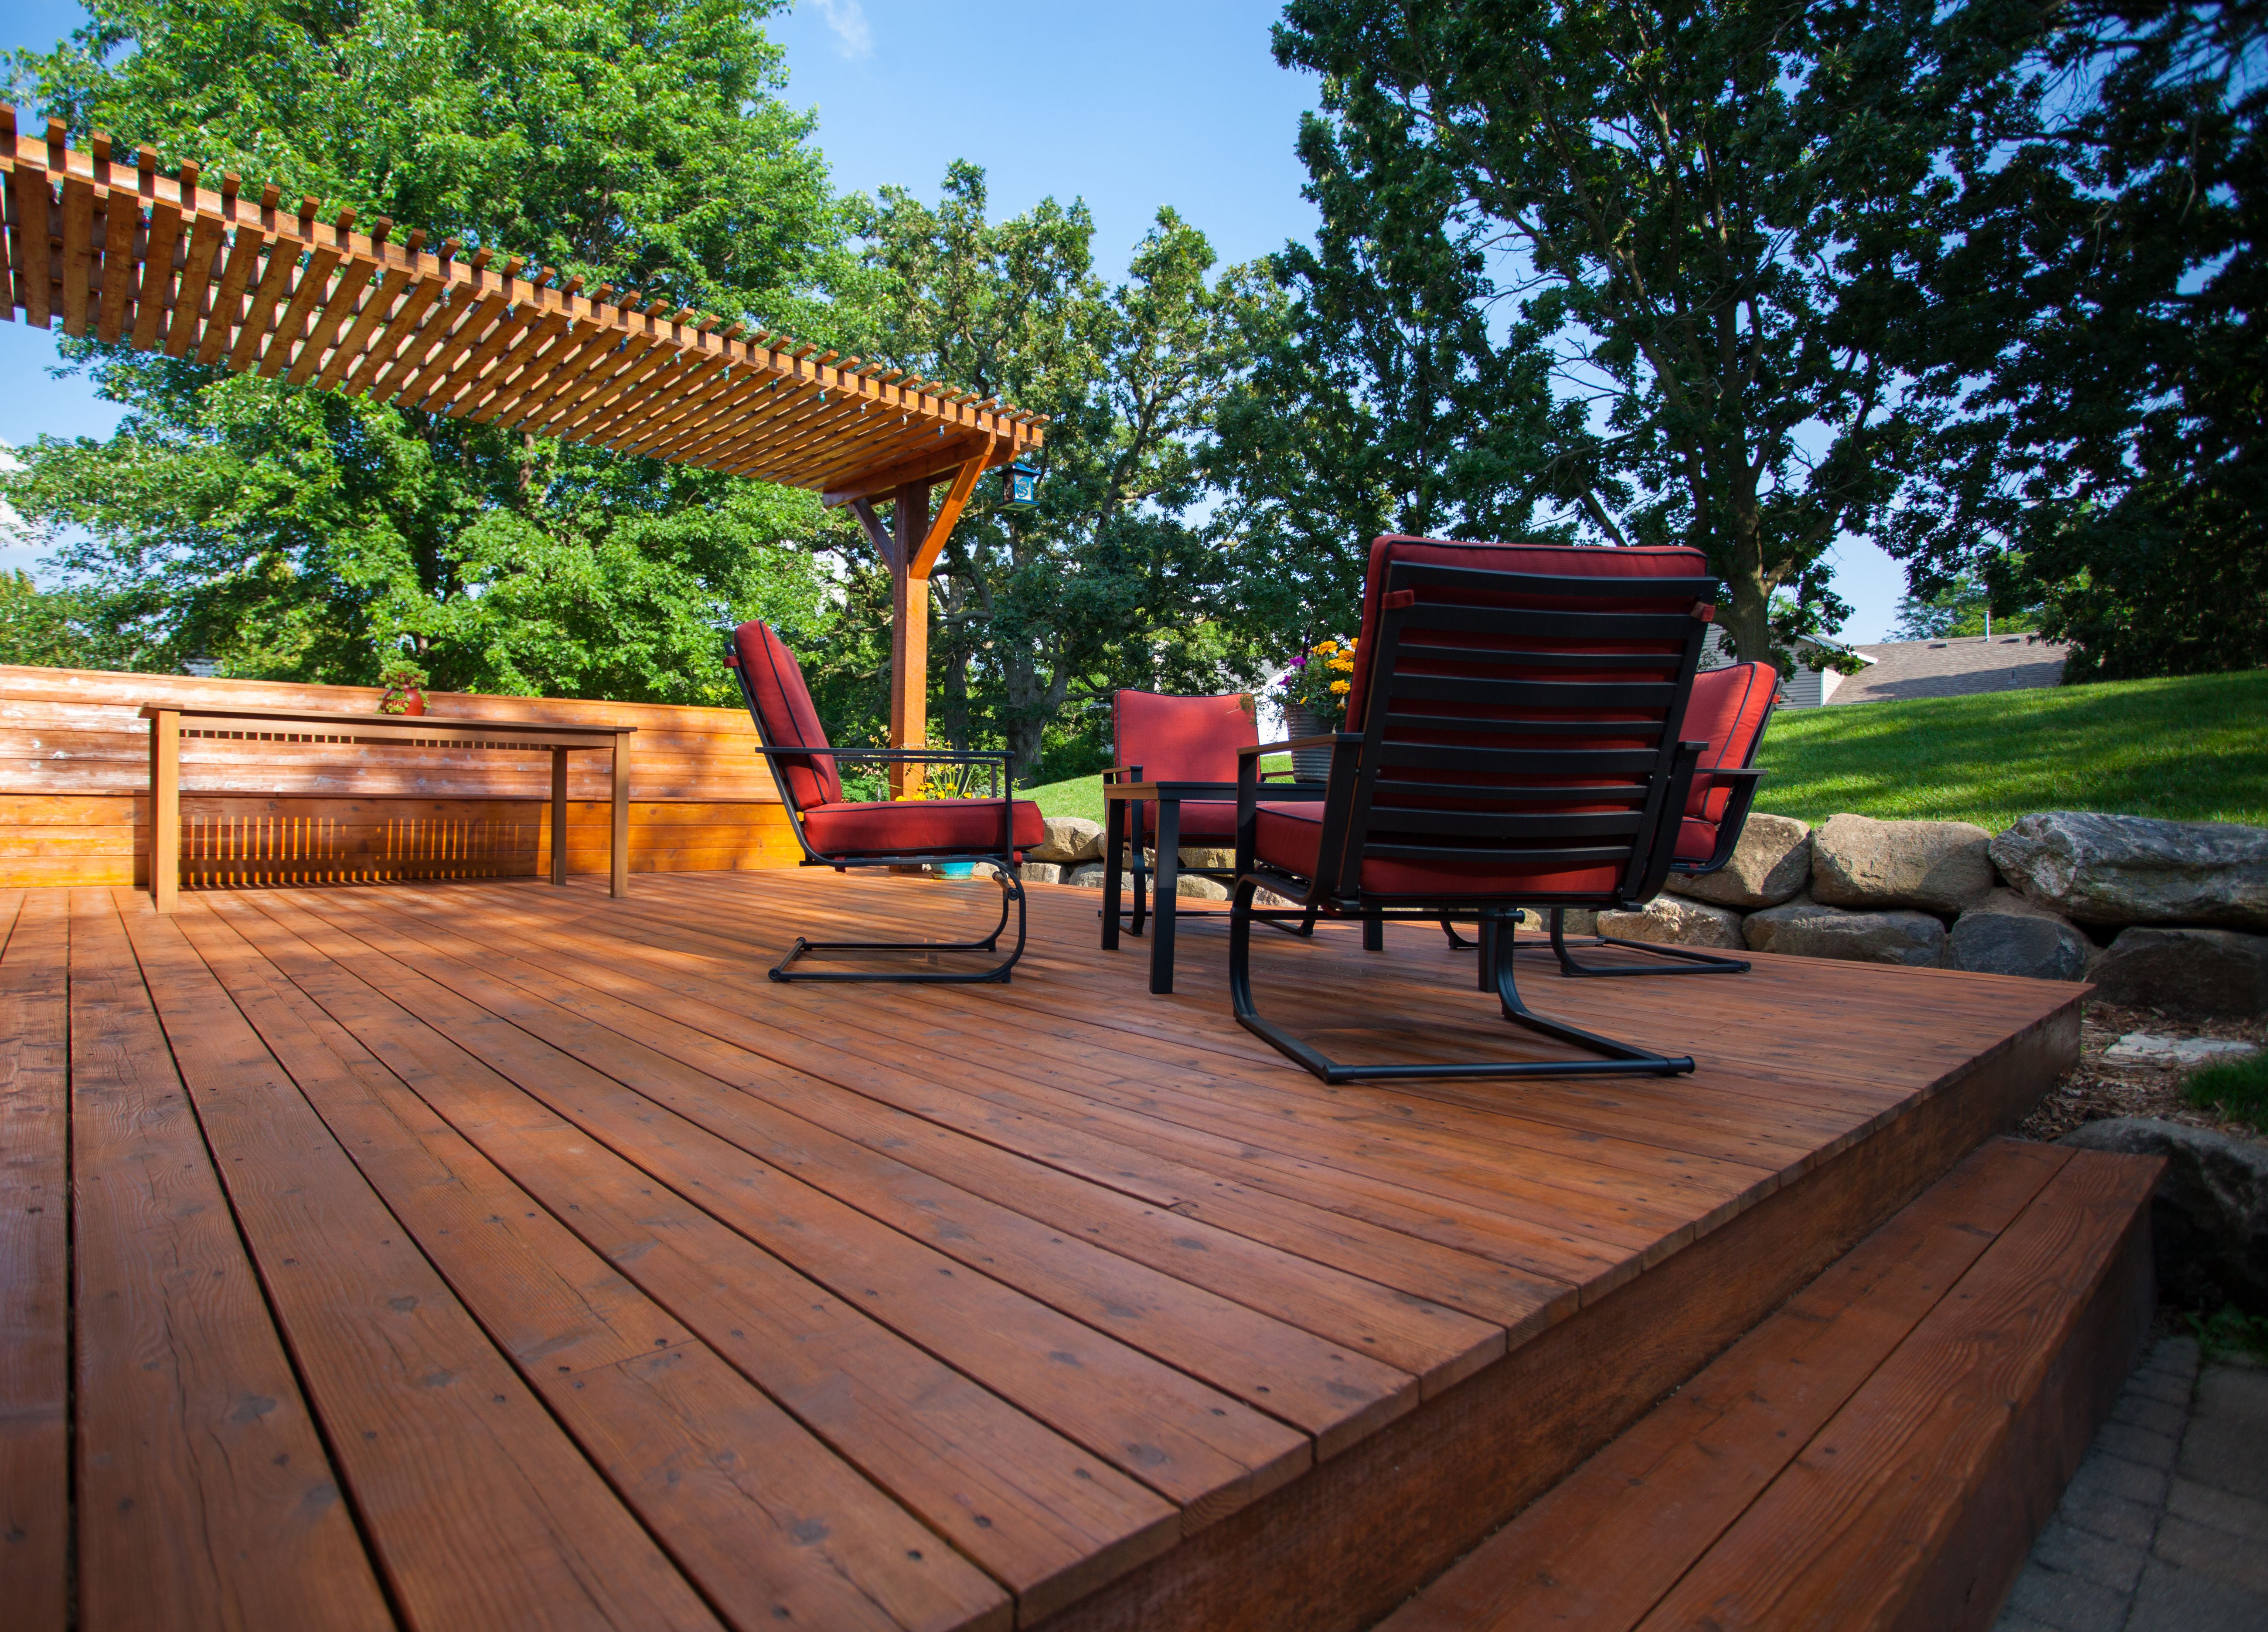
Finishing Touches
With the main structure complete, it’s time to add finishing touches that enhance both functionality and aesthetics. Consider adding railings for safety, especially if your deck or landing is elevated. Stain or seal the wood to protect it from environmental damage while highlighting its natural beauty.
Add furniture or planters to personalize your space and make it more inviting. With these final touches in place, your small deck or wood landing is ready for enjoyment! Whether it serves as a peaceful retreat or a welcoming entryway, you’ll find that this addition enhances both your home’s value and your quality of life.